

How to Turn Your Skool Community Into a Mobile App (Without a Developer)
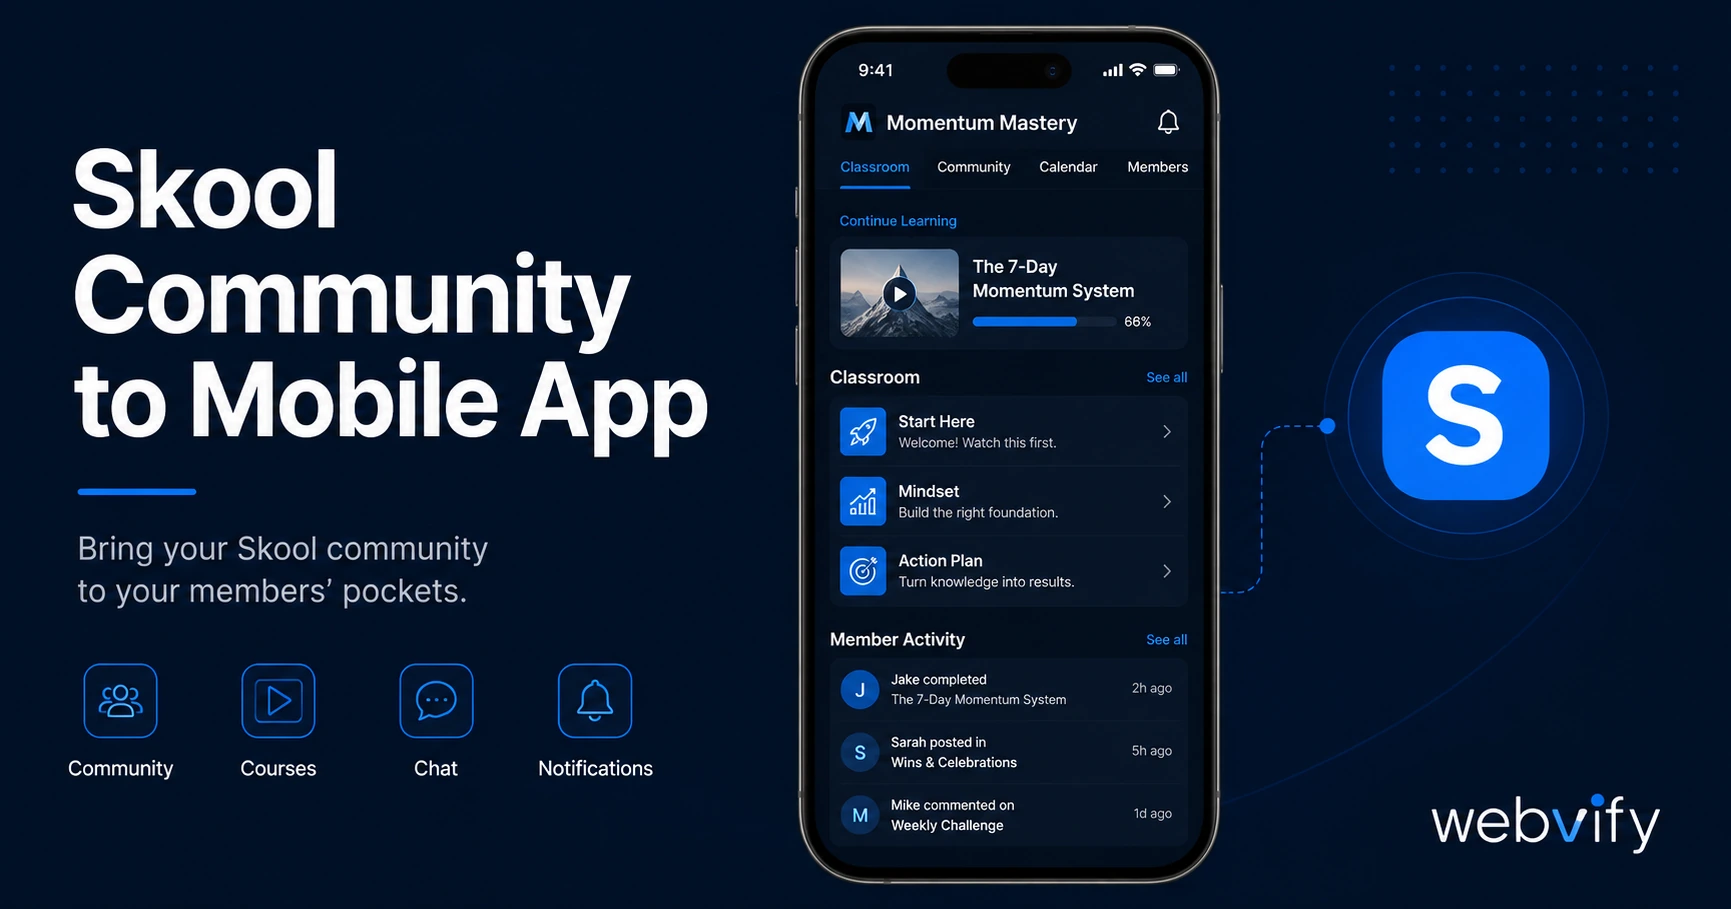
Skool has no native App Store export. Here's how to turn your Skool community into a branded iOS and Android app — without a developer or rewriting anything.
Inside this article
Why Skool Has No App Store Presence — And What to Do About It
Skool is the fastest-growing community platform of 2025–2026. Over 40,000 communities are hosted on it. But there's one thing Skool doesn't do: put your brand on the App Store.
Your members can reach Skool through the browser or the generic Skool app — but that app shows every community on the platform, not yours. There's no way to give your audience a dedicated, named app that lives on their home screen.
This isn't a Skool bug. It's how web-based community platforms work. The App Store and Google Play don't accept URLs — they require native binary files (.ipa for iOS, .aab for Android). Skool doesn't generate those files. That's the gap.
The solution most creators are using in 2026 is a WebView wrapper: a lightweight native app shell that loads your Skool URL and gets submitted to both stores as a proper, branded app.
What a Skool Mobile App Actually Looks Like
A WebView-based Skool app works like this: your community URL runs inside a native iOS and Android shell. From the outside, it's a real app — it has your icon, your name, and its own App Store listing. Members download it, and it opens directly to your community.
The functional difference for your members: instead of bookmarking a URL or using the generic Skool app, they tap your branded icon. You stay on their home screen. When you publish something, you can send a push notification directly to their lock screen.
The functional difference for you: you own an app on the App Store and Google Play under your own Apple and Google developer accounts. No dependency on Skool's app roadmap, no shared listing.
The Two Things That Block Skool App Store Submissions
Most creators who try to submit a Skool-based app themselves run into two specific Apple guidelines.
Guideline 4.2 — Minimum Functionality. Apple rejects apps that are "simply a wrapper for a website." Your app needs to feel native — that means push notifications, offline-capable content, and a UI that functions as more than a browser tab. A plain WebView of your Skool URL won't pass review without the right configuration.
Guideline 2.1 — App Completeness. Apple requires your app to work on a stable custom domain. Skool community URLs on the skool.com subdomain are flagged during review. You need a custom domain like community.yoursite.com mapped to your Skool community before submission.
Google Play is more lenient, but it has its own requirements: a Data Safety form, a content rating questionnaire, and an .aab binary file. Services like Webvify handle all of this as part of the submission process — you don't touch Xcode or Android Studio.
Setting Up Your Skool Mobile App: Step by Step
Step 1: Confirm your custom domain. Skool supports custom domains on paid plans. Map a domain you control — such as community.yourcoachingbusiness.com — in your community settings. This is required for App Store submission.
Step 2: Verify mobile responsiveness. Open your Skool community on a phone browser and check that the navigation, classroom, and community feed all work without horizontal scrolling or cut-off content. Most Skool communities are fully responsive by default, but check any embedded content or custom pages.
Step 3: Handle digital goods if applicable. If your Skool community has a paid membership billed through Stripe, Apple requires that iOS purchases go through Apple's in-app purchase system (Apple Guideline 3.1.1). The standard workaround — used by Udemy, Coursera, and Teachable — is to disable the subscription purchase flow inside the app and direct new members to sign up on your website. Existing members access content normally. For free communities or those with billing handled entirely outside the app, this isn't an issue.
Step 4: Provide a test account. Apple reviewers need to log in and verify that your app is functional. Create a test account with full access to your community content before submitting.
Step 5: Submit to both stores. You need an Apple Developer account ($99/year) and a Google Play Developer account ($25 one-time). Your app binary is generated by your builder or service, then submitted through App Store Connect and Google Play Console. For a full rundown of what to check before submitting, the App Store rejection prevention guide covers the most common WebView-specific triggers.
Push Notifications: The Real Reason to Do This
Here's the number that matters: push notifications average a 60–90% open rate. Email averages 20–30%.
When you drop a new lesson, run a live event, or open enrollment, a push notification reaches your members' lock screens in real time. An email might land in a promotions tab three hours later — if it gets there at all.
For Skool community owners, this is the highest-ROI case for a branded app. Community engagement lives and dies on whether members remember to come back. The home screen icon and the push notification together solve the visibility problem that even a well-run email list can't fully address.
If you run a paid membership, the numbers compound: members who receive push notifications stay enrolled longer and rebook at higher rates than those who don't. For course creators and e-learning operators more broadly, the same pattern holds — you can read more about it in the e-learning mobile app guide.
How Long Does It Take?
Going through a managed service, the typical timeline from submission to live app is 5–10 business days. Apple's review takes 24–48 hours for first-time submissions. Google Play is usually 3–7 days for new accounts.
The prep work — custom domain, test account, binary build — takes 1–2 days if everything is already in place. Most of the wait is Apple's review queue, not the build itself.
If you're doing this yourself, the timeline depends on how familiar you are with the Apple Developer portal. It's achievable, but there are several compliance steps that are easy to miss on a first submission.
Frequently Asked Questions
Can I submit a Skool community to the App Store without a custom domain?
No. Apple's Guideline 2.1 requires a stable, production URL — the skool.com subdomain is flagged during review. You need a custom domain mapped to your community before submitting. Skool supports custom domains on paid plans.
Does a Skool mobile app work for paid communities?
Yes, with a caveat for iOS. Apple requires that digital subscription purchases made on iOS go through Apple's in-app purchase system (which takes a 30% fee). The standard workaround is to disable the subscription purchase flow inside the app — existing members access content normally, and new members sign up through your website. Paid communities using annual billing handled outside the app have fewer complications.
How is this different from the Skool app that already exists?
The official Skool app shows all Skool communities in one shared platform — your community lives inside it, but there's no dedicated listing under your brand name. A custom WebView app gives you your own App Store listing, your own icon, and your own brand identity. Members find you by searching your name, not by looking inside the Skool app.
Your Skool community deserves its own place on the App Store. Webvify handles the full process — from building the WebView app to submitting it under your own Apple and Google developer accounts — so you don't have to learn Xcode.