

Google Play Console Guide for Beginners: What Every Small Business Owner Needs to Know
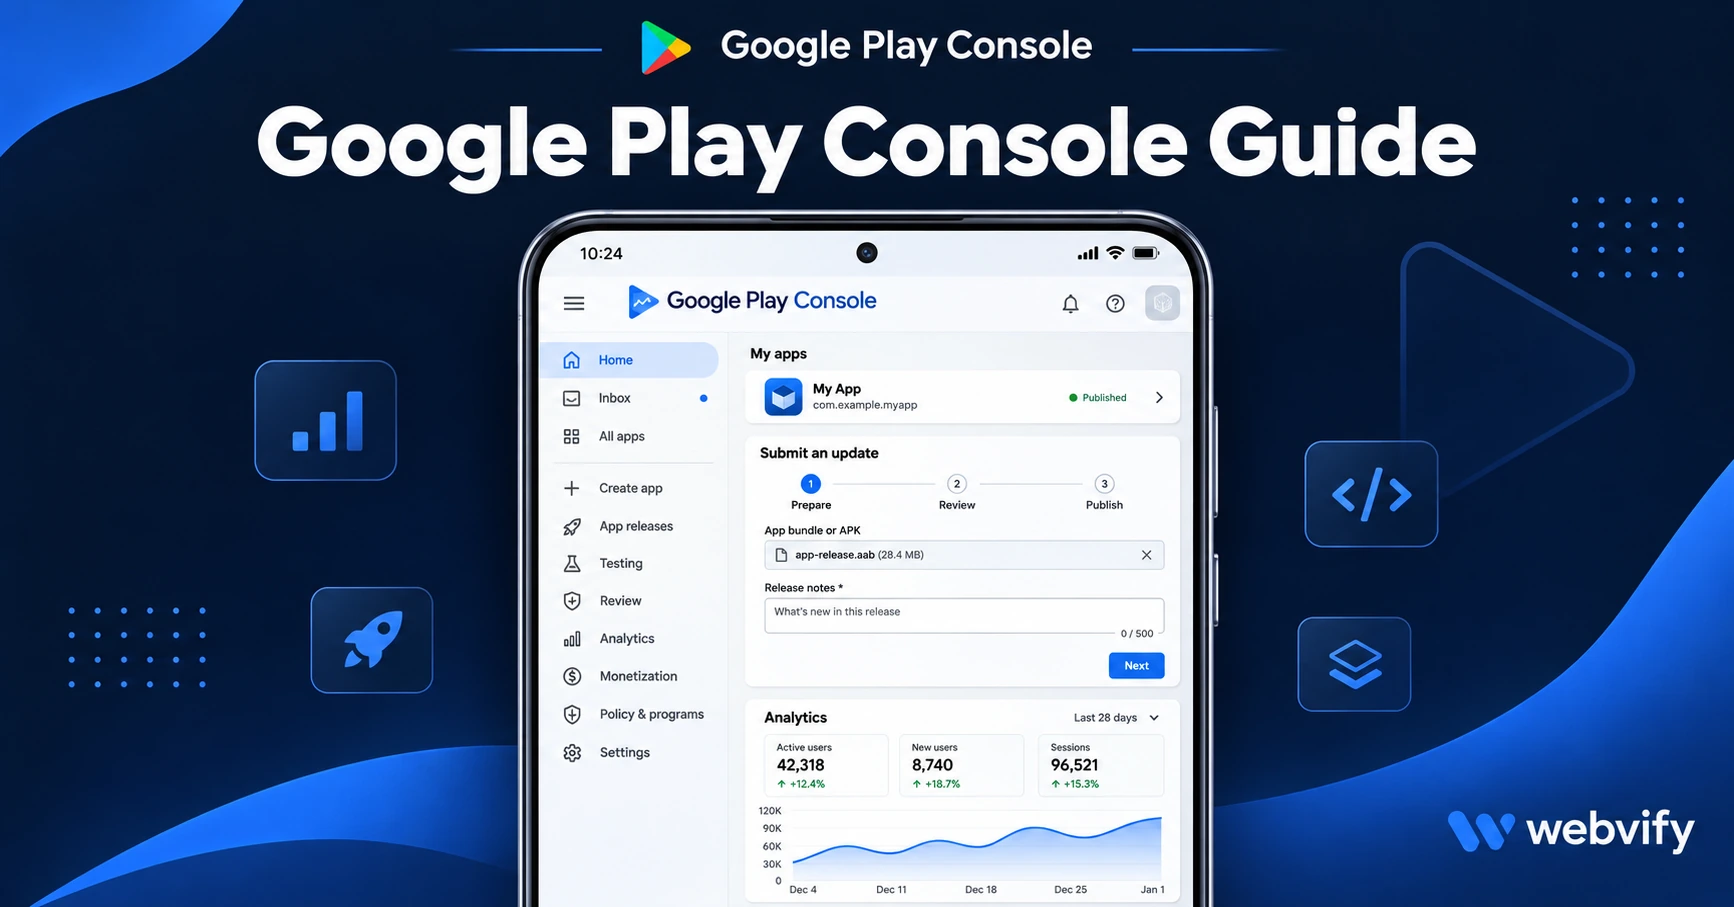
Google Play Console explained for small business owners — account setup, Data Safety form, closed testing, and the rejection traps to avoid.
Inside this article
- What Is Google Play Console?
- Setting Up Your Google Play Developer Account
- Navigating Google Play Console: The Five Sections That Matter
- The Data Safety Form: Where Most First-Timers Get Stuck
- API Target Level: The Annual Update You Can't Skip
- Common Rejection Reasons (and What They Actually Mean)
- Frequently Asked Questions
Every year, thousands of small business owners create a Google Play Developer account, log into Google Play Console, and immediately close the browser. The layout is functional but unfamiliar — and when something goes wrong, the rejection emails are frustratingly vague.
This guide walks you through Google Play Console in plain English: what each section does, what trips up most first-timers, and what you need to complete before Google will even review your app.
What Is Google Play Console?
Google Play Console is the web dashboard where you submit, manage, and monitor Android apps on the Google Play Store. If you've used App Store Connect for iOS, this is the Android equivalent — same purpose, different terminology and a slightly different set of compliance requirements.
You'll use it to:
- Upload your Android App Bundle (.aab file)
- Complete the content rating questionnaire
- Fill out the Data Safety form
- Set up testing tracks (closed, open, production)
- Monitor crashes, reviews, and download statistics after launch
Access it at play.google.com/console. You'll need a Google account and a one-time $25 developer registration fee — significantly cheaper than Apple's $99/year.
Setting Up Your Google Play Developer Account
Before you can upload anything, you need a registered developer account. Google now requires identity verification — you'll be asked to submit a government-issued ID and, for personal accounts, a short video selfie. The process usually takes 1–3 business days.
Important: Create the account under your business name or your own legal name — this appears on your app's store listing and cannot be changed easily later. If you plan to publish multiple apps under a consistent brand, registering as an organization is worth the extra step.
Once verified, you'll land in the Play Console dashboard. Your first action is to create a new app.
Navigating Google Play Console: The Five Sections That Matter
Google Play Console has a sidebar with more options than you'll ever use. Here are the five sections every beginner needs to work through, in order:
1. App Content This is where you complete required declarations: content rating, target audience, app category, and the Data Safety form. Many developers try to skip this and go straight to uploading the binary — that doesn't work. All declarations must be complete before Google will review your app.
2. Store Listing This is what users see on the Play Store: your app name, description, screenshots, feature graphic (the banner image), and app icon. Write your short description (80 characters) with your primary keyword first — it appears in search results before the full description.
3. Release (Testing tracks) Google requires that new apps complete a closed testing phase before going public. You need at least 12 opted-in testers and 14 days in closed testing before you can apply for production access. We cover this in detail in the Google Play 12 testers guide.
4. Android Vitals After launch, this section shows crash rates, ANR (Application Not Responding) rates, and permission issues. Google uses these metrics to surface or suppress your app in search. Keep crash rate below 1.09% to avoid being flagged for bad behaviour.
5. Monetization If your app charges users for digital content (courses, subscriptions, downloads), you'll configure Google Play Billing here. Physical product sellers and service businesses can skip this section — there is no equivalent of Apple's 30% fee for selling physical goods through an Android app.
If you're managing an iOS submission at the same time, the App Store Connect guide for beginners covers the parallel iOS steps.
The Data Safety Form: Where Most First-Timers Get Stuck
The Data Safety form is the section that trips up nearly every first-time submitter. You have to declare exactly what data your app collects, how it's shared, and whether users can request deletion.
For a WebView app wrapping an existing website:
- If your site uses Google Analytics or any tracking script, you're collecting data — declare it.
- If your site has a contact form or login, you're collecting personal data — declare it.
- If you use third-party SDKs (Firebase, Facebook Pixel, Stripe), check each SDK's data safety documentation and include their data categories.
Declaring that you collect no data when you do is the fastest route to a policy violation and app removal. When in doubt, declare more rather than less.
Services like Webvify fill out the Data Safety form as part of the submission process — if you're not confident navigating this section, that's one of the clearest advantages of using a managed end-to-end service.
API Target Level: The Annual Update You Can't Skip
Google requires that all Android apps target the current Android API level within a few months of each major release. In 2026, apps must target API level 35 (Android 15). Apps that fall behind are blocked from publishing updates.
For WebView apps, this means the app wrapper needs to be rebuilt and resubmitted once a year to stay compliant — this is the main ongoing maintenance task for Android apps. If you're using a no-code service, confirm whether annual API updates are included in your plan. For a full breakdown, see the Google Play Android API target level guide.
Common Rejection Reasons (and What They Actually Mean)
Google rejects apps for a narrower set of reasons than Apple, but the most common ones for small business apps are predictable:
| Rejection reason | What Google says | What it means |
|---|---|---|
| Data Safety incomplete | Policy Declaration required | Fill out all App Content sections before submitting |
| App crashes on startup | Technical issue detected | Test on a real Android device before uploading |
| Low-quality content | Spam and minimum functionality | Your app needs at least one native feature (push notifications work) |
| Closed testing not complete | Production access not granted | 12 testers + 14 days required before public launch |
The minimum functionality check (Guideline 2.3.6) is the equivalent of Apple's Guideline 4.2 — your WebView app can't be a plain browser with no added functionality. Push notifications satisfy this requirement on both platforms.
Frequently Asked Questions
How long does Google Play take to review a new app?
Google Play's initial review for new apps typically takes 3–7 days. Updates to existing apps are reviewed within 24–48 hours. These timelines can extend during high-volume periods or if your app triggers an additional manual review.
Do I need a separate Google Play account for each app?
No. One Google Play Developer account supports up to 100 apps. If you're a web agency or reseller building apps for multiple clients, one account works for all of them — your developer name appears on each app's listing, so choose it carefully.
What's the difference between Google Play Console and App Store Connect?
App Store Connect (Apple) requires a $99/year subscription and enforces stricter content guidelines. Google Play Console charges a one-time $25 fee and has a faster review process, but adds the 12-tester closed testing requirement and annual API-level compliance updates. If you're submitting to both stores, the App Store Connect beginner guide covers the iOS side step by step.
Ready to get your Android app live on Google Play? Webvify handles the full submission end-to-end — from building the app bundle to completing the Data Safety form, passing closed testing, and keeping your API level current year after year.